Customizing Interactive Widgets on AI Websites: Step-by-Step Guide
Interactive widgets are the secret sauce to keeping users engaged on AI-built websites. From dynamic forms to click-trigger animations, customizing these widgets can enhance user experience and drive more interactions. In this guide, we’ll walk you through the practical steps to personalize widgets using Draftly’s intuitive tools.
Why Customize Interactive Widgets?
Customizing widgets isn’t just about aesthetics—it’s about functionality. Tailored widgets can:
- Increase user engagement by up to 42% (source: HubSpot).
- Improve conversion rates on call-to-action buttons by 25-30%.
- Create a seamless journey for users exploring your 3D AI Portfolios.
When widgets are customized properly, they act as bridges between content and user actions, fostering meaningful interactions.
Step 1: Select the Right Widget Type
Draftly offers a variety of widget types, including forms, sliders, image carousels, and interactive CTAs. Choosing the right widget depends on the type of engagement you want to drive.
- Forms: Ideal for collecting information, like user sign-ups or event registrations.
- Sliders: Great for showcasing multiple images or data points.
- CTAs: Encourage actions like downloads, purchases, or bookings.
Step 2: Customize Widget Layouts
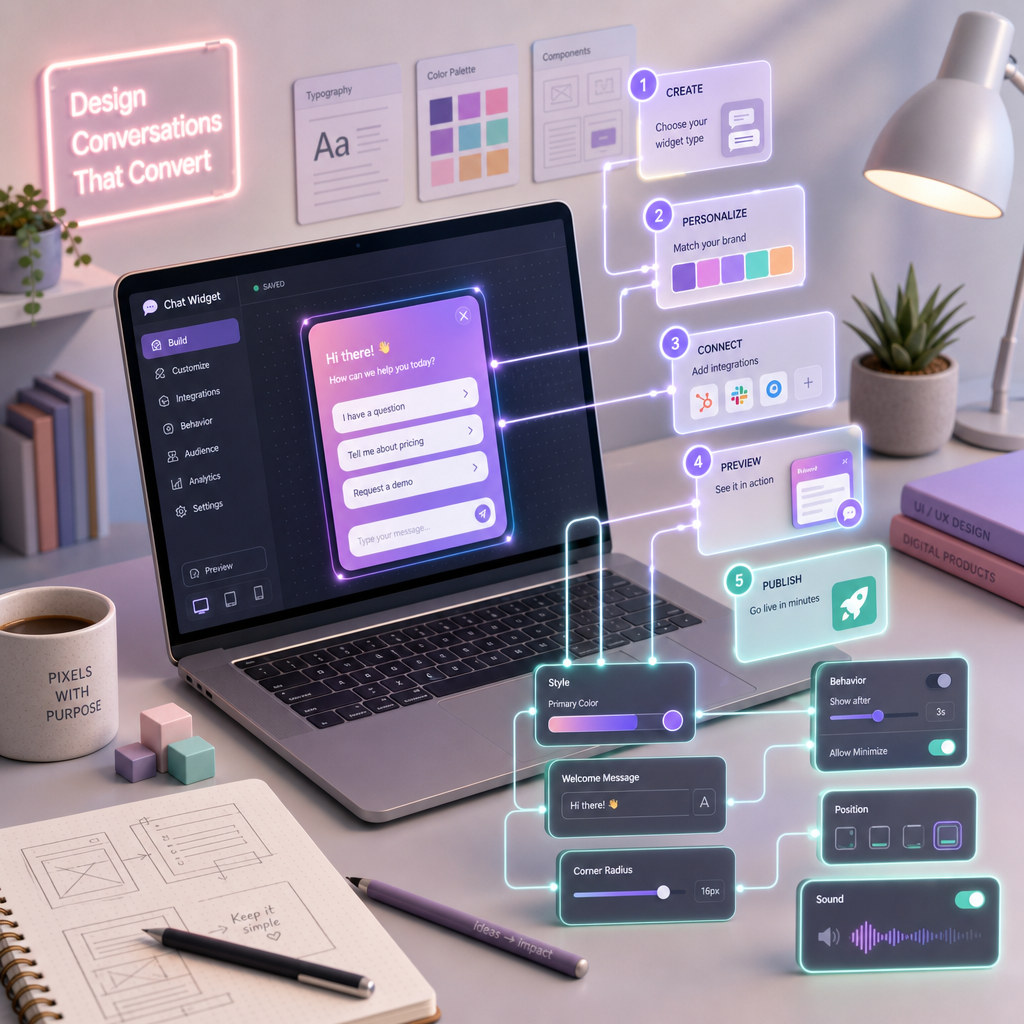
Once you’ve chosen a widget type, it’s time to customize its layout to match your website’s design. Draftly simplifies this process:
- Navigate to the Widget Editor: Open your Draftly dashboard and select the widget you want to edit.
- Choose Layout Options: Pick from pre-designed templates or start from scratch.
- Adjust Dimensions: Use sliders to resize the widget for desktop and mobile views.
Step 3: Optimize Colors and Fonts
Visual elements like colors and fonts can make or break user engagement. Use Draftly’s customization tools to:
- Sync with Brand Colors: Match widget colors to your brand kit. Learn more about this in How to Customise Fonts, Colors and Your Brand Kit in Draftly.
- Set Font Hierarchy: Ensure headers, body text, and buttons are visually distinct.
- Enable Accessibility: Choose high-contrast themes for better readability.
Pro Tip: Use Color Psychology
Colors like blue indicate trust, while green promotes action. Align colors with the emotions you want users to feel.
Step 4: Add Interactivity
Interactivity transforms static widgets into engagement powerhouses. With Draftly, you can:
- Enable Click Animations: Add smooth transitions when users interact.
- Integrate Hover Effects: Highlight buttons or images when hovered over.
- Trigger Dynamic Responses: Connect widgets to actions, like displaying a thank-you message post-form submission.
Step 5: Connect Widgets to Backend Data
To make widgets functional, they need to be connected to backend data sources. In Draftly:
- Link to APIs: Connect widgets to live data streams for real-time updates.
- Embed Google Sheets: Use spreadsheets for back-end data management.
- Sync with CRM Platforms: Automate data collection and storage.
Step 6: Test and Iterate
Before publishing, rigorously test your widgets:
- Preview Mobile and Desktop Views: Ensure responsiveness across devices.
- Conduct User Testing: Gather feedback from a small group of users.
- Analyze Performance: Track engagement metrics using Draftly’s analytics dashboard.