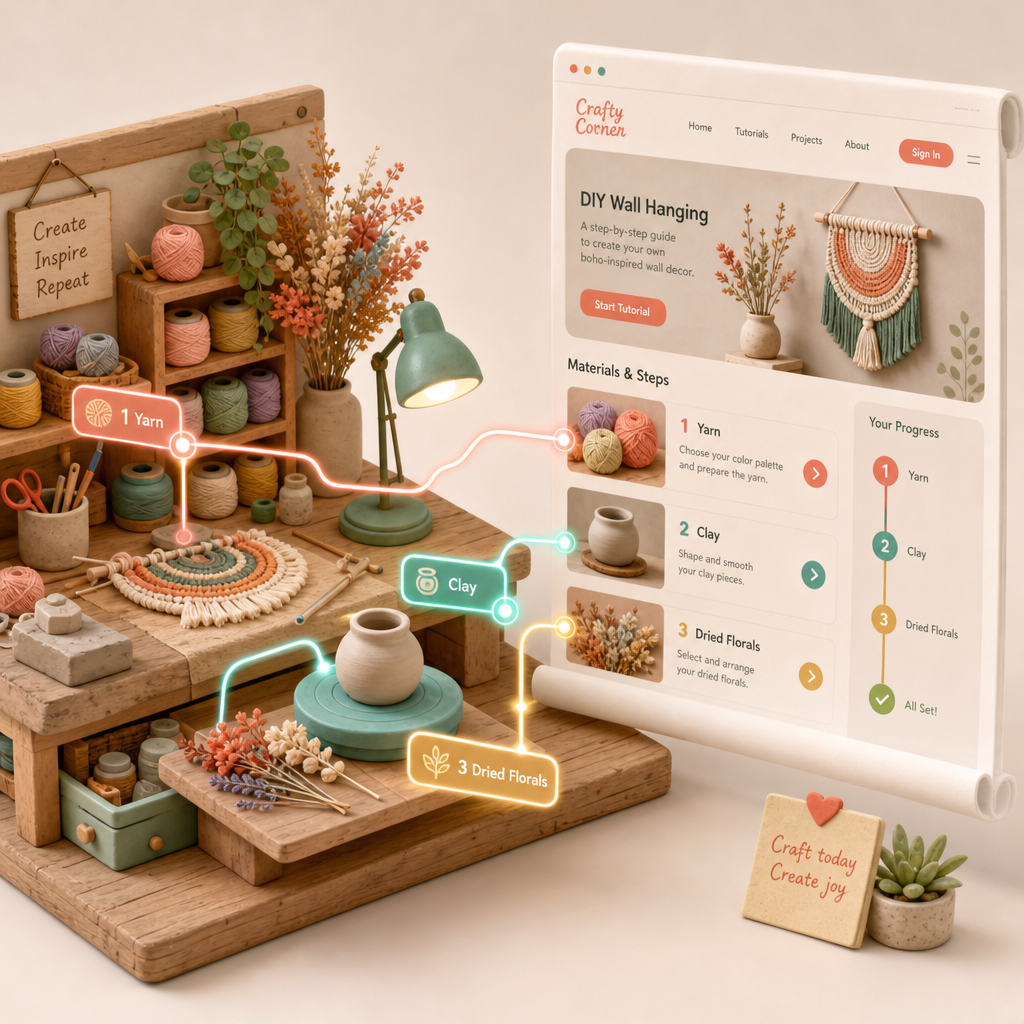
How to Create an AI-Powered Website for DIY Craft Tutorials
Want to showcase your DIY craft skills with an interactive, cinematic website? Whether you're a seasoned DIYer or just getting started, creating an AI-powered website can elevate your tutorials and engage your audience like never before. Using tools like Draftly, you can design visually stunning, scroll-driven pages without needing advanced coding skills.
Why Create an AI-Powered DIY Craft Website?
An AI-powered website allows you to blend creativity with technology, enabling:
- Personalized User Experience: AI can tailor content based on user preferences.
- Interactive Tutorials: Engage your audience with scroll-driven storytelling and 3D visuals.
- Effortless Design: Platforms like Draftly simplify the process, letting you focus on your craft.
Step-by-Step Guide to Building Your DIY Craft Website
Follow these steps to create a stunning website that showcases your DIY projects:
Step 1: Define Your Niche and Audience
Before diving into website creation, outline your niche and target audience. Knowing your focus helps you attract the right viewers and provide relevant content.
- Identify your specialty: Is it home decor, paper crafts, knitting, or another craft?
- Determine your audience: Beginners, intermediates, or experts?
- Brainstorm categories: Examples include tutorials, tips & tricks, and material lists.
Step 2: Choose Your Website Builder
Draftly is a leading AI-driven 3D website builder that simplifies the process of creating immersive websites.
- Quick Setup: Start with just one prompt describing your website’s purpose.
- Custom Branding: Learn how to customize fonts, colors, and your brand kit.
- Interactive Features: Use scroll-driven animations, 3D effects, and dynamic layouts.
Step 3: Create Engaging Tutorials
Content is the backbone of your website. Here’s how to structure your DIY tutorials:
- Title Your Tutorial: Use catchy, descriptive titles like “How to Make a Boho Macrame Plant Holder.”
- Step-by-Step Instructions: Break the process into clear, numbered steps with images or videos.
- Materials List: Include links to purchase supplies directly from your page.
- Personal Tips: Share unique tips or alternatives that make your project stand out.
Designing Your DIY Craft Website
Once your content is ready, it’s time to design your website.
Step 4: Select Layouts and Themes
Draftly offers various templates optimized for different purposes:
- Portfolio Style: Perfect for displaying your crafts as a gallery.
- Blog Format: Ideal for step-by-step tutorials with embedded videos.
- E-commerce Ready: Add product listings for craft supplies or finished designs.
Step 5: Add Visual Enhancements
Use Draftly's AI-powered tools to create stunning visuals:
- 3D Animations: Highlight each step with scroll-driven effects.
- Color Themes: Match your website’s colors to your craft aesthetic.
- Interactive Galleries: Let users experience your craft in an immersive way.
Optimize Your DIY Craft Website for Engagement
Step 6: SEO and Analytics Integration
Make your website discoverable with smart optimization techniques:
- Use your primary keyword, “DIY craft tutorials,” in key areas like titles, headings, and meta descriptions.
- Create content around related searches like “easy craft tutorials for beginners” and “DIY home decor ideas.”
- Integrate analytics tools to track user engagement and adjust your content strategy accordingly.
Step 7: Promote Your Website
Drive traffic to your DIY craft website:
- Share tutorials on social media platforms like Instagram and Pinterest.
- Collaborate with other creators in the DIY craft community.
- Use email marketing to keep your audience updated on new tutorials.